


Nature Collage
 Materials Needed:
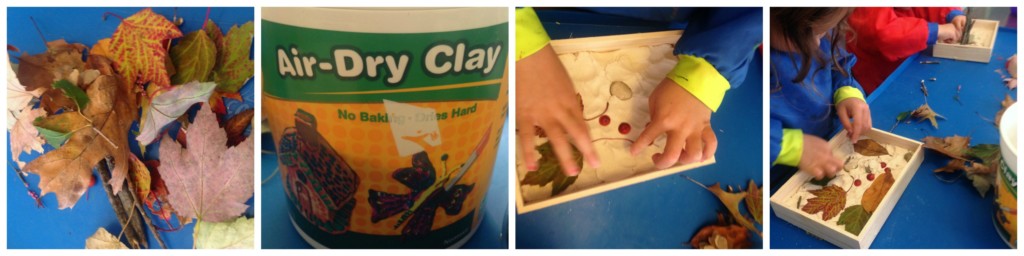
- Air dry clay like Crayola Air Dry Clay
- Nature items
- Deep frame (I’ve gotten cheap wooden ones at Michael’s or I’ve been lucky at Good Will finding an old frame)
- Go on a nature walk with the kids and let them pick up whatever they’d like. You can be adventurous and go on a hike and a park or take a stroll in your neighborhood. We walked up and down our street and picked up leaves, rocks, twigs, acorns, berries, and flowers.
- Remove the glass, if there is any, of the frame. Help the kids press down the clay into the frames. It can be tough for little hands, so depending on the age of your kiddos, you may need to do most of the work.
- Let the kids press their nature items into the clay however they see fit. If they just want to play in the clay or jab sticks in it like my younger one did, let them have at it. There’s no right or wrong here!
- Let the clay dry until hard to touch. This takes 3-4 days. You can leave it as is or let the kids add some color with tempera paint.
- Touch up any pieces that didn’t settle hard. I use Tacky Glue or hot glue to secure any loose pieces.
Leaf Fossils
 Materials Needed:
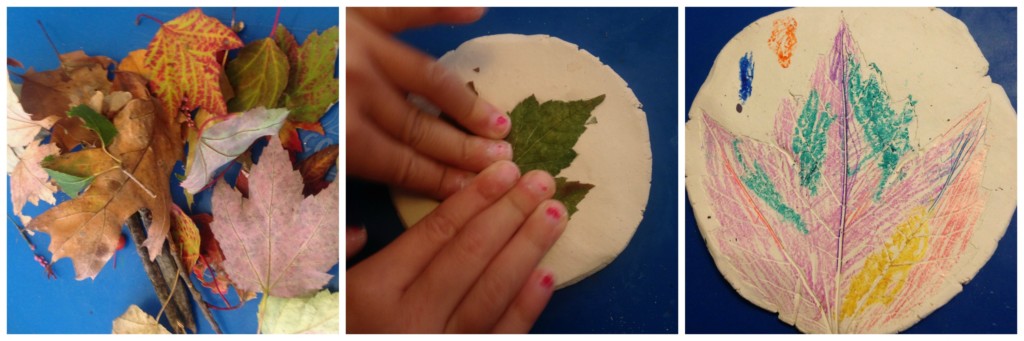
- Air dry clay or salt dough (this recipe has worked great for us)
- Fresh leaves, leaves that aren’t too terribly dry
- Colored pencils, markers, or crayons
- Help your kids roll out the clay into small thing discs big enough round to cover a leaf. We rolled ours out until about ¼” thick. If you’d like to hang them when they’re done, use a toothpick to poke a hole through the top.
- Place a leaf on the rolled out dough and help them gently press on the leaf. You need to firmly imprint the leaf on the dough, but carefully so that the leaf doesn’t tear.
- If using air dry clay, let the discs dry until hard.
- If using salt dough, follow drying directions. Usually bake at 350 degrees for an hour.
- After dough has hardened, let your kids color the leaves with paint, colored pencils, or crayons.
Tissue Paper Leaves
 Materials Needed:
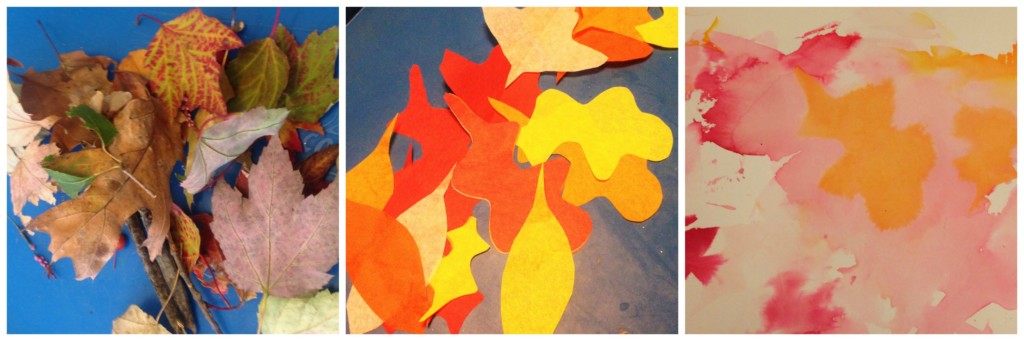
- Red, yellow, and orange non-bleeding tissue paper
- Water color paper or thicker art paper that won’t tear when wet
- Cut out different shapes and sizes of leaves. You can use a template, but these don’t have to be perfect.
- Using a sponge or paint brush and water, let your kids brush the leaves onto the paper. They can layer them or make a design.
- Let the tissue paper leaves dry. Have the kids take off the dried tissue paper and see what happened. The tissue paper “leaves” a beautiful picture of colored leaf imprints!


