


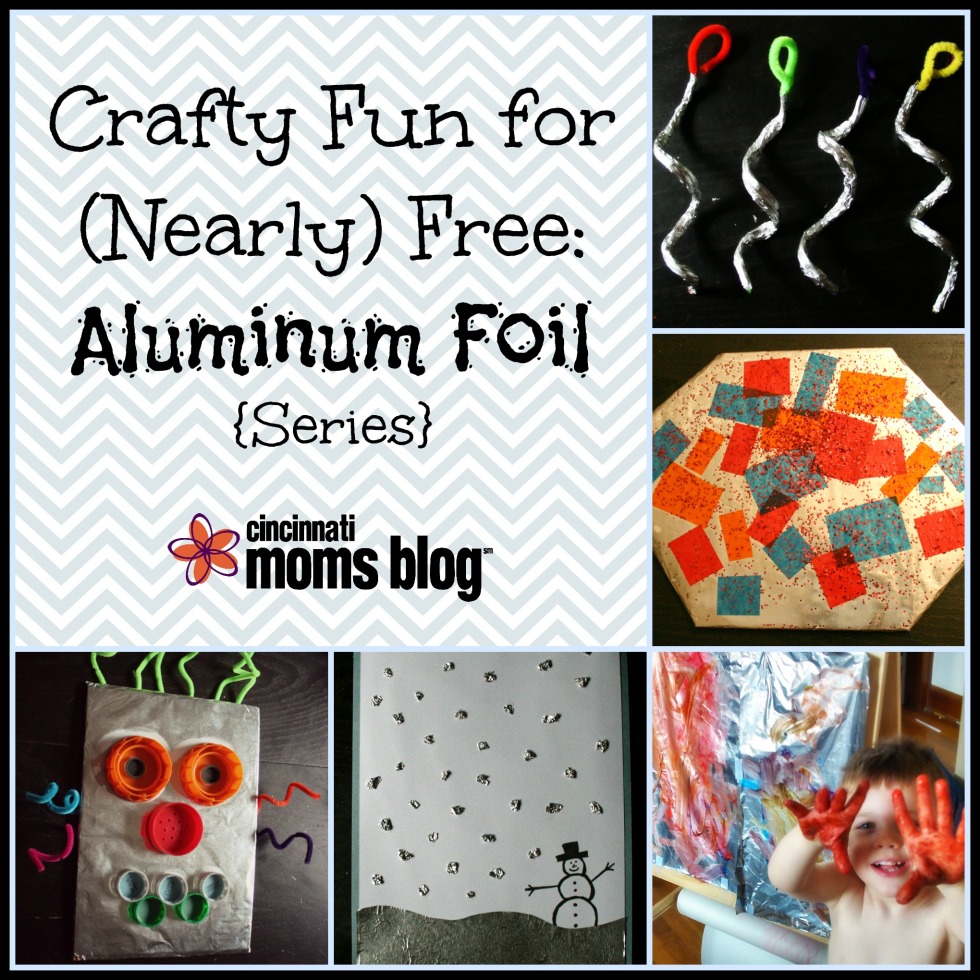
Crafty Fun for (Nearly) Free, is a series that explores budget friendly craft activities for kiddos of all ages. We will show you how to maximize a few bucks and simple supplies for hours of fun and entertainment!
This edition of Crafty Fun highlights the always fun medium of aluminum foil. My total cost for everything you see below was only 50 cents, because the only thing I didn’t already have in the house was glue! All items could easily be purchased at the dollar store for around $5.
Painting on Foil
Good for: All ages
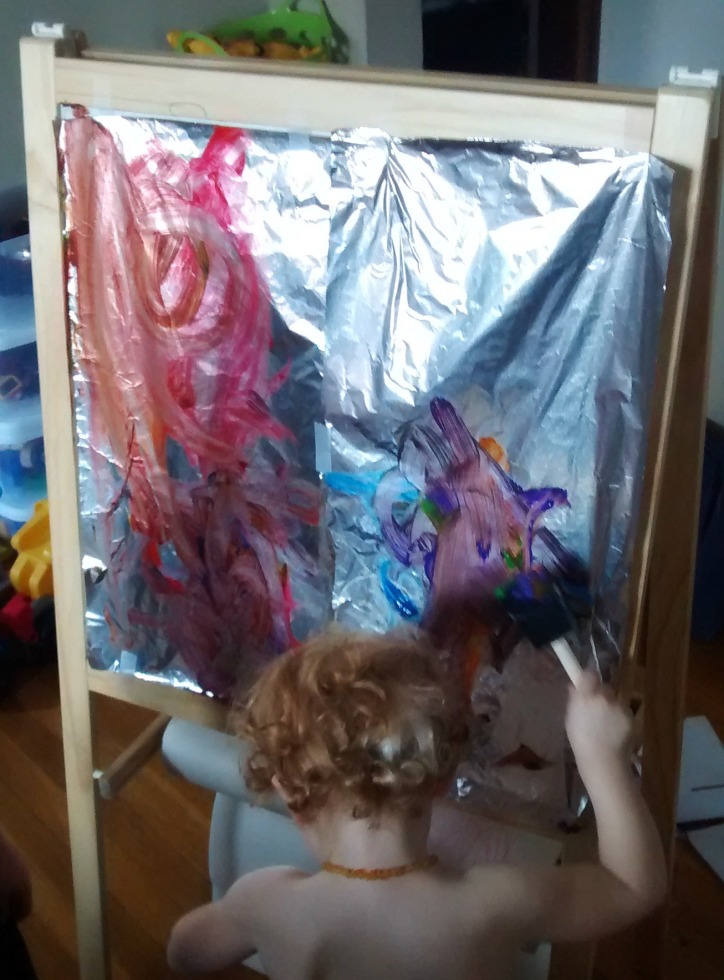

What you need: Aluminum foil, paint, paint brushes, tape
What you do: Tape aluminum foil to a flat surface so it is easy to paint on. Then paint! This is an easy craft but it adds much more sensory input than just painting on paper. The reflective surface is visually interesting, the paint glides over the slick surface, and it makes a neat crackling sound! Add to the sensory experience by letting your littles finger paint on the foil. This activity is purely about the process rather than the product, as the resulting artwork won’t keep well.
Icicles
Good for: Preschoolers, School-age, Adolescents

What you need: Aluminum foil, pipe cleaners, scissors
What you do: Make a loop at the top of the pipe cleaner. Tear a piece of aluminum foil that is roughly the length of your pipe cleaner, and then tear it in half (you can make two icicles with one piece of foil). Wrap the foil around your pipe cleaner. It’s okay if it is loose and not perfect, because the next step is to squeeze the aluminum foil as tight as you’d like it to look. You can leave them straight for a real icicle effect or you can curl them around your finger to make them swirly. If there is pipe cleaner poking out of the bottom, just snip it off with scissors! Hang them in windows, from mantels, on the Christmas tree, etc.
Snow Picture
Good for: Preschoolers, School-age, Adolescents
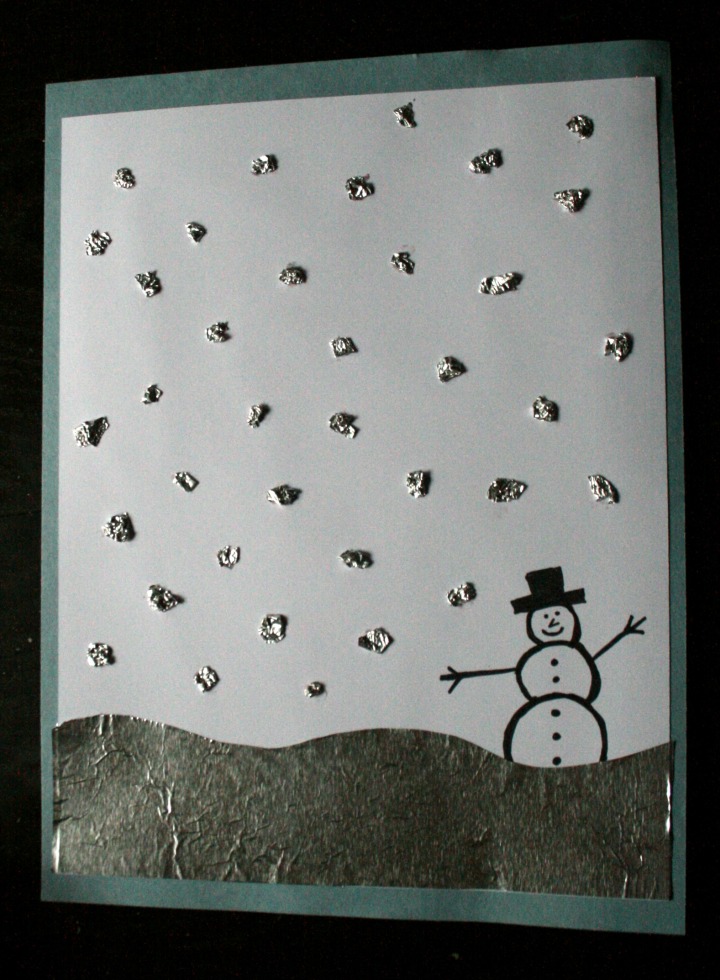
What you need: Aluminum foil, paper, black marker, glue
What you do: On the paper of your choice (I think this would also look great on colored paper), glue a piece of aluminum foil that you have cut to look like a snowy ground. (It’s okay if it takes a couple of tries to get it right, because you can use your mistakes to make the little balls of snow!) Draw your wintery picture, and then glue little balls of aluminum foil all over the picture to look like snow! I learned from experience that putting the foil ground on before drawing your picture is easiest because it’s hard to cut the foil to an exact shape to fit your picture. If desired, you can mount your snowy picture onto another piece of paper for fanciness.
Tissue Paper Collage
Good for: Preschoolers, School-age, Adolescents
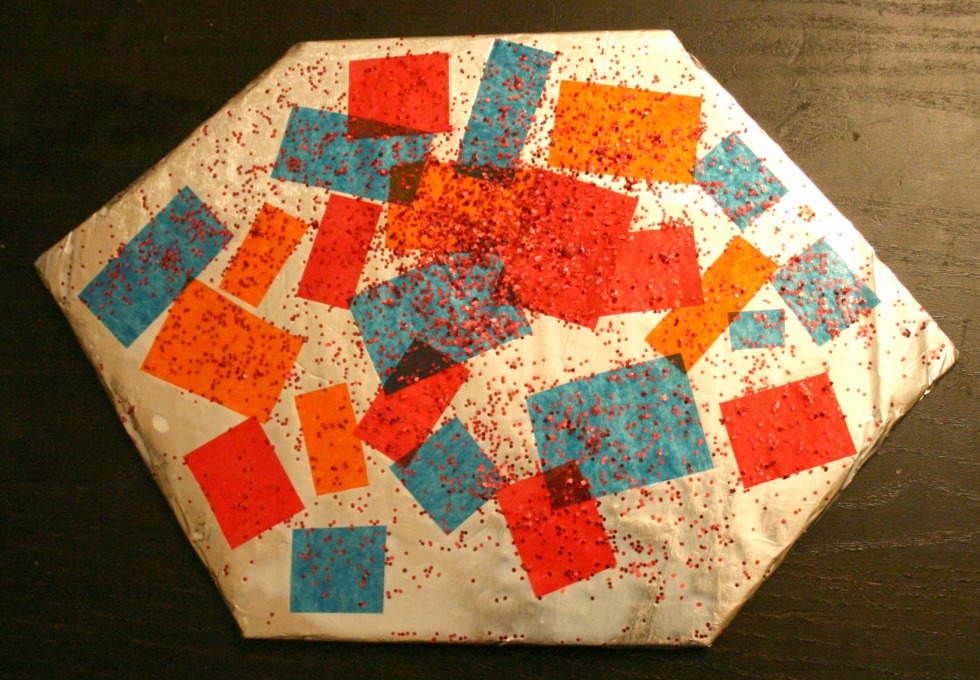
What you need: Aluminum foil, cardboard, tissue paper pieces, glue, water, paint brush, tape, glitter
What you do: Cut a piece of cardboard to desired shape and cover with aluminum foil. Secure foil to back of cardboard with tape. With the paint brush, paint on a layer of watered-down glue onto the foil. I used a sponge paint brush which I thought to be easier, but a regular brush would work too. Put tissue paper pieces on the foil in desired collage pattern. Put another layer of glue water on top, which you can do one of two ways… (1) wait it to dry and then paint on a new layer of glue on the top or (2) just dab glue on the top of the tissue paper pieces with brush. To add more sparkle, sprinkle some glitter on top (optional). (Bonus idea: Do the same type of activity but make it a picture frame by cutting out the center of the cardboard shape!)
Robots
Good for: Preschoolers, School-Age, Adolescents
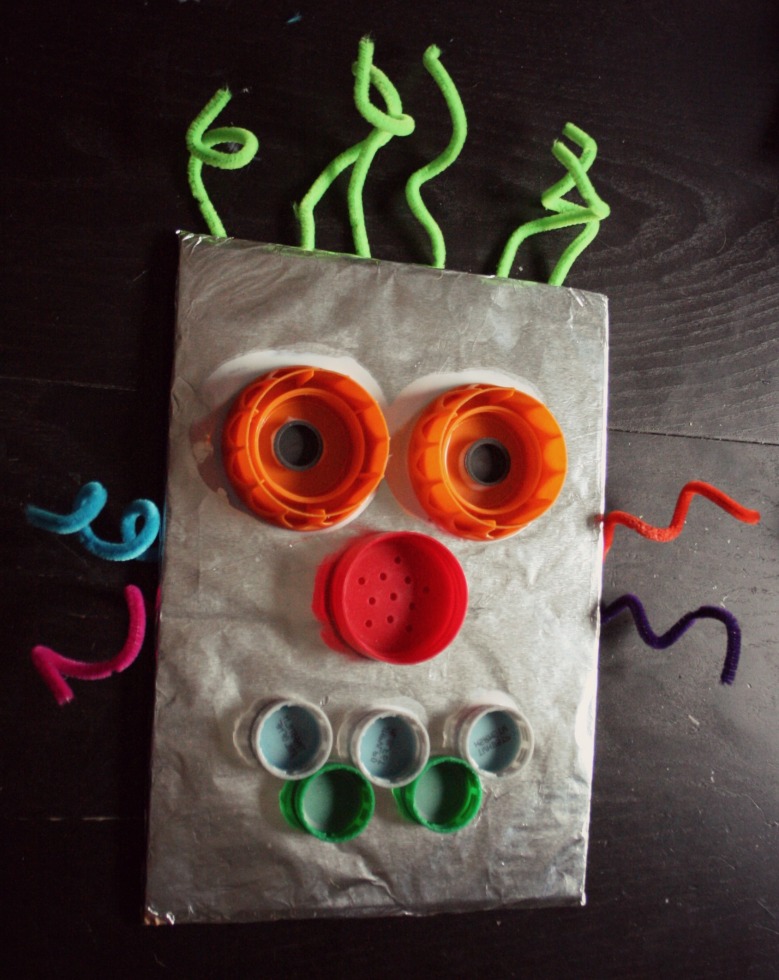
What you need: Aluminum foil, rectangle/square piece of cardboard, bottle caps, pipe cleaners, glue, tape
What you do: Cover your rectangle/square piece of cardboard with aluminum foil and secure to the back with tape. Glue bottle caps on for the eyes, nose, and mouth. Use pipe cleaners for hair/robot wires. If pipe cleaners are desired on top of the robot head, use glue. If desired attached to the back of the head, use tape.


