


Are you planting a garden this year? If your kids are anything like mine, they love helping in the garden. At least when it comes to digging, planting, and watering, they are always eager to get their hands dirty. Not so much for weeding, but we’re working on that. Right about now, if you recently sowed some seeds or transplanted baby plants from the nursery, you might have a little break in the heavy-duty gardening work. Or perhaps the rain is keeping you inside away from your garden. Either way, here are a couple of fun garden crafts that you can do to make playing in the dirt even better.
Kid’s Watering Can
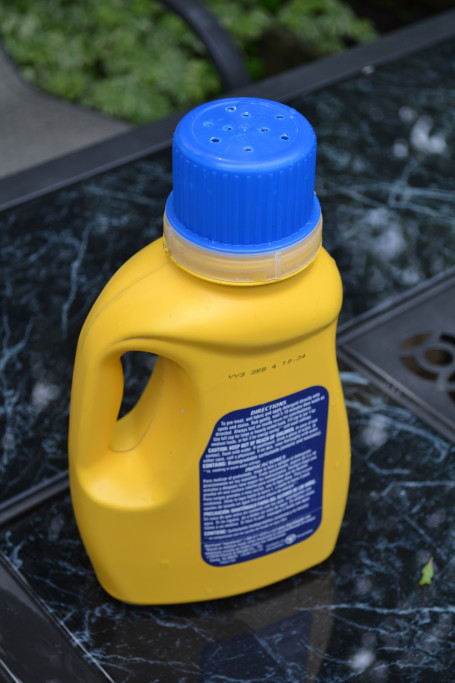
Since kids love to water plants, how about making some simple and practically free watering cans out of laundry detergent containers? They are the perfect size for little hands and a great solution to kids accidentally flooding small plants with a larger watering can or hose. With these homemade ones, you can control how much water comes out by deciding how many and what size holes to make in the lid. Plus, everyone can have one of their very own!
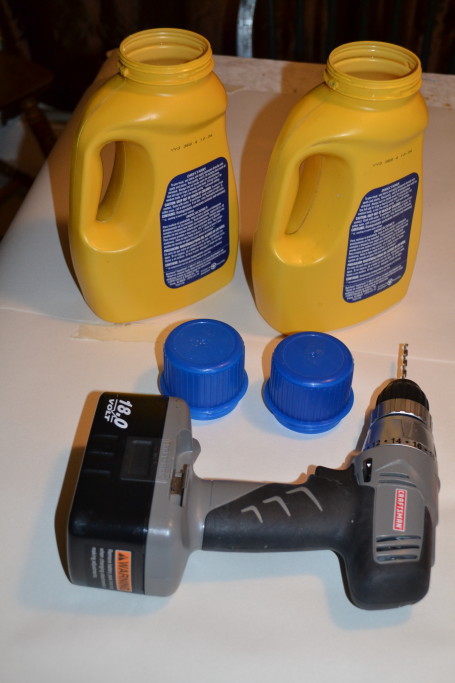
Tools and materials:
- Empty laundry detergent containers
- Drill will an appropriately-sized drill bit (1/4-1/2 inch is good)
Directions:
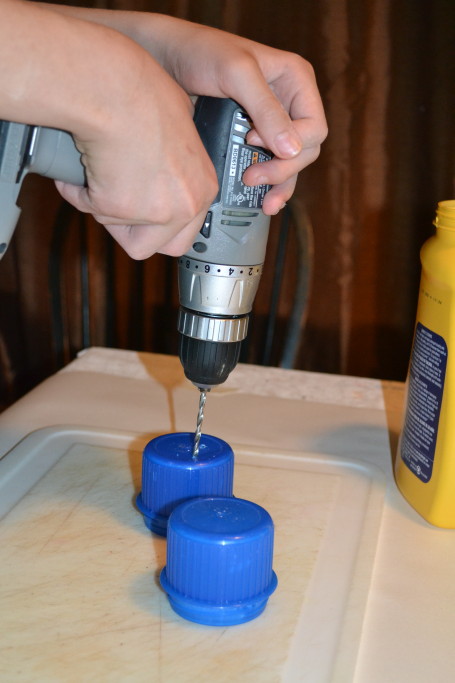
Thoroughly clean out laundry detergent container, including lid, rinsing until water is clear of bubbles. Use drill to make several holes in lid.
Fill with water, replace lid, and let the kids go to it!
 IMPORTANT NOTE: In some of the pictures, the spout has been removed from the jugs since I thought that would make it easier for the kids to add water. However, the lid won’t screw on without the spout so learn from my mistake friends, and leave it on.
Rainbow Plant Markers
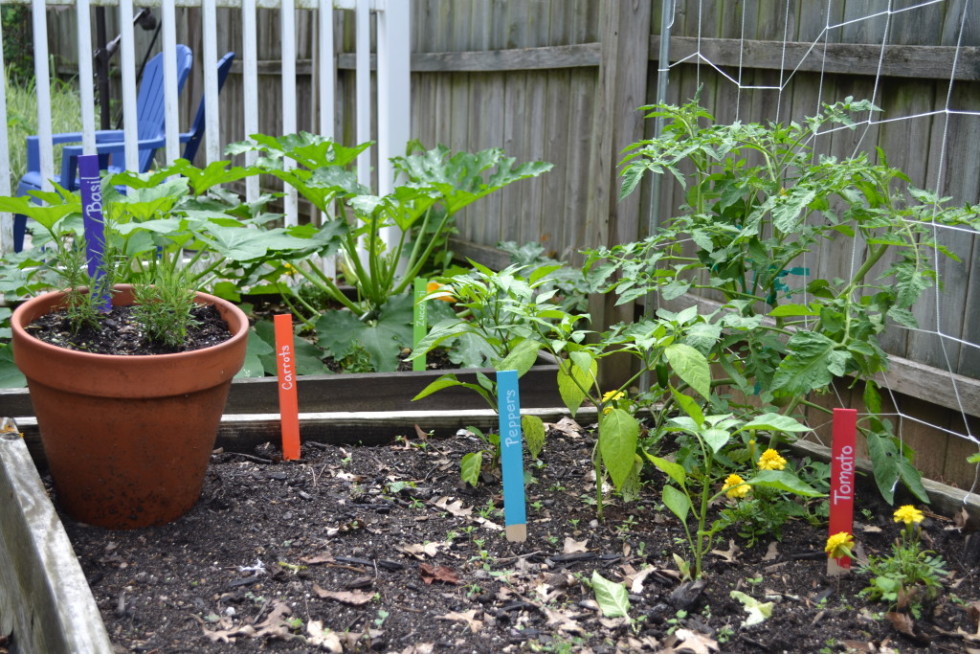
Beautify your garden (and maybe remember if you planted beans or cucumber in that row) with a rainbow of plant markers made from paint stirring sticks. I had everything I needed for these already on hand except something to create the lettering. I thought I might use some kind of puffy paint or simply some white paint and a small detail brush, but the guy at the craft store suggested Sharpie paint pens. They worked great, but if you already have something in your house that you think will work, I say give it a try before heading out to buy something for the job.
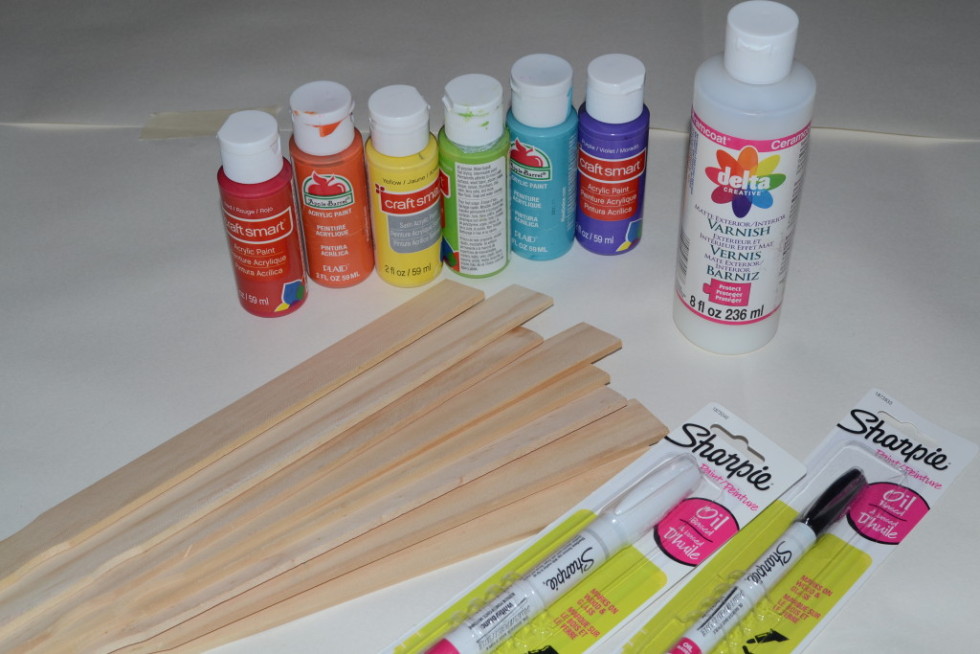
Tools and Materials:
- Paint stirring sticks (free from the home improvement store)
- Paint (I had acrylics so that’s what I used.)
- Paint pen
- Sealant (Optional, but since your plant markers will be outside, they will last a lot longer if you seal them. There are lots of choices, but I used what I already had.)
Directions:
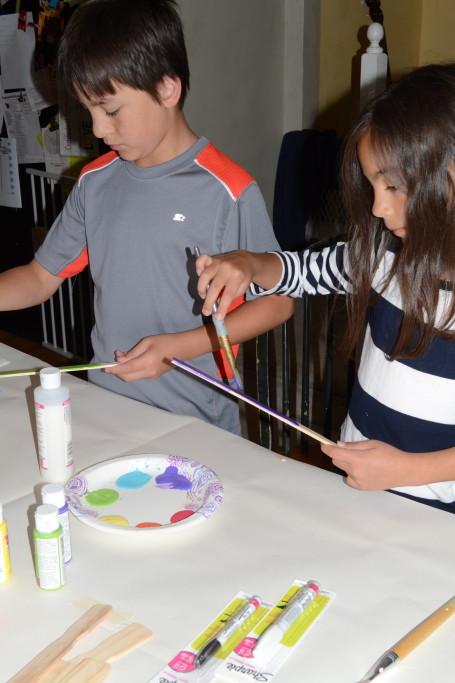
Paint sticks in desired colors. I picked a rainbow theme, but of course, use whatever you like. We also only painted about as far as the sticks would poke out of the ground (instead of the whole thing) for simplicity’s sake. Allow to dry. Do a second coat for complete coverage.
 Paint or write names of plants on painted sticks. Again, dry thoroughly. Then paint on sealant if you are using it.
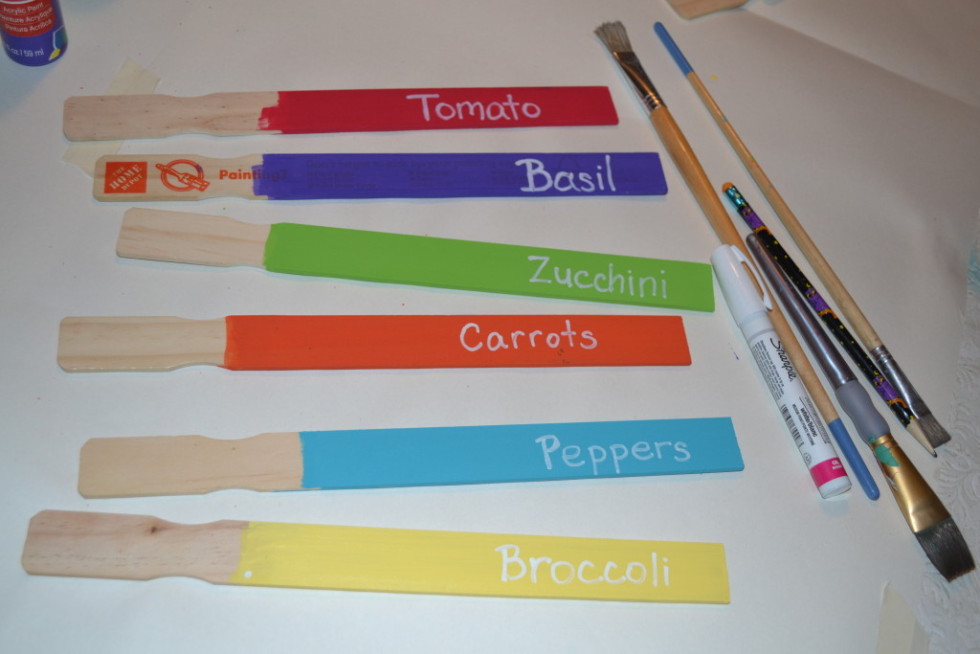
Dry one more time, and then add them to your garden.


I hope you are enjoying your garden as much as I am. Even though I’d enjoy a little more sun, the plants are happily soaking up all the rain and growing like crazy. In no time at all, we will be harvesting fresh, sweet tomatoes and bright, delicious zucchini–sure signs of summer!


